
There are a few repairs to do on the rudder. Nicks and dings, cracked fiberglass and the like. I figure that I can spend some time learning how to work with epoxy and gelcoat on the rudder. Its a much better place to practice than the hull of the boat.
A couple of points on painting. I got (cheap) two gallons of Vinelast Anti-fouling Permenant brown paint. I figured that would be good for a primer coat. Then I found Interlux VC17m blue paint on sale. Great! I wanted to paint the bottom of the boat blue. What I didn't know is that the Interlux has copper powder that has to be mixed in with the paint.
I found the Vinelast worked good, but really needs to be thinned a bit. It goes on real thick and leaves brush marks. The Interlux needs to be mixed very well. I thought I did mix it, but I wound up with a finish that is more copper than blue. I then tried having a hardware store mix it up on a machine to see if that helped. It still comes out more copper than blue. So, until I do something else I'll have a copper colored rudder!
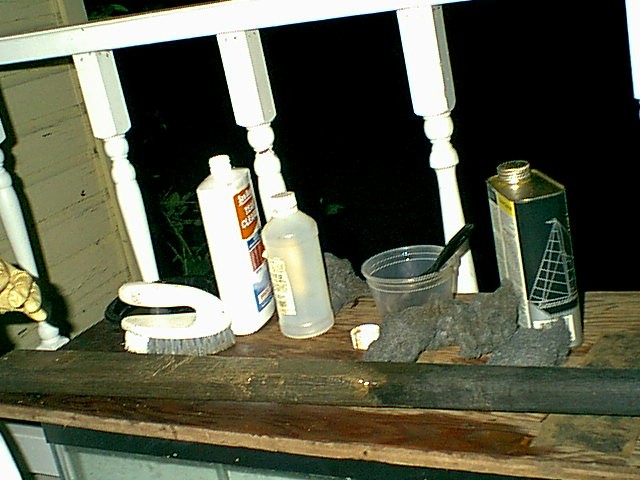 |
Cleaning up the tiller. It was pretty weathered and rough. The first step is a good scrubbing with a cleaner, brush and steel wool. |
 |
After cleaning, the wood was bleached out a bit with a teak brightener (oxalic acid) to bring out the grain. |
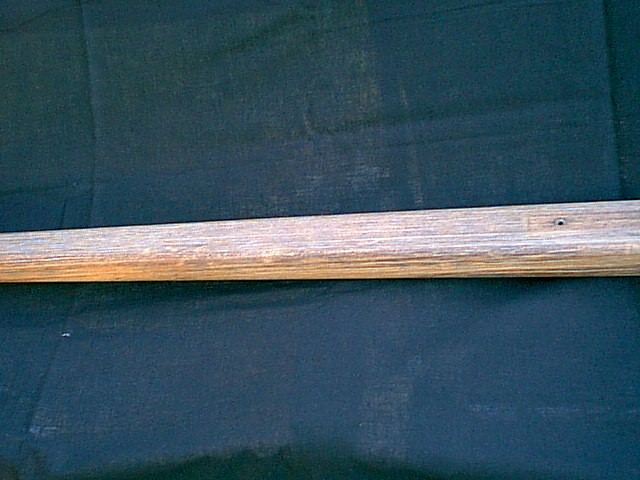 |
After repeated sandings its ready for a coat of varnish. The weathering had caused the grain to split in places, so the surface isn't entirely smooth. Hopefully, the varnish will even some of that out. |
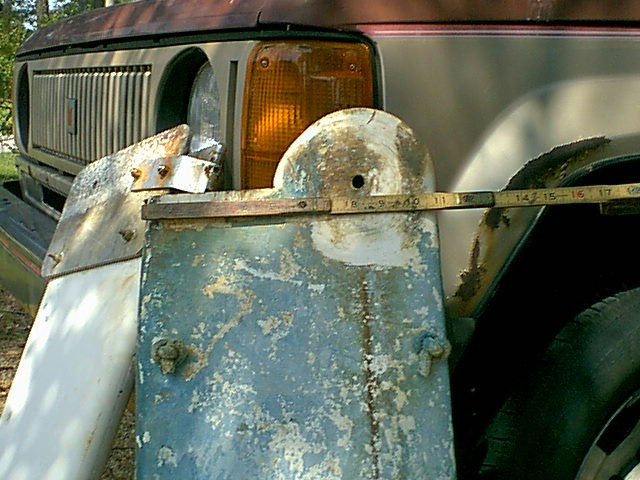 |
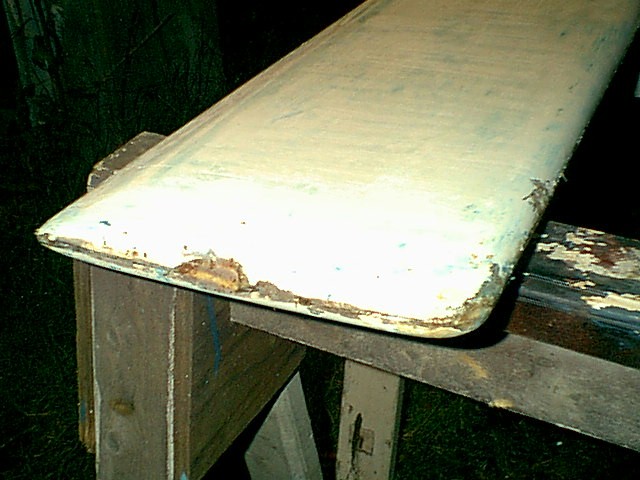
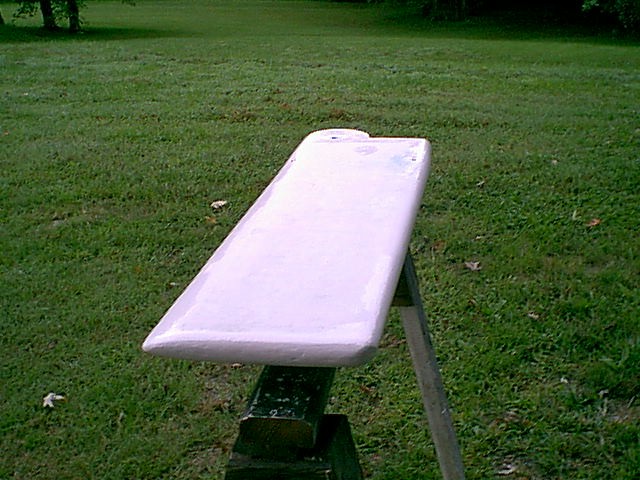
This was the general state of the rudder when I got it. |
 |
Hinge plates. These are aluminum and are corroded so bad the pitting is almost all the way through the metal. They will be replaced. |
 |
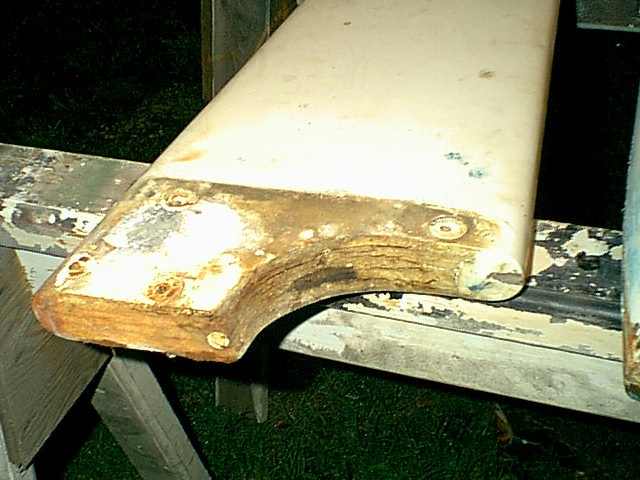
The top of the lower section. The fiberglass is broken around where the hinge bolt goes through (hard to see in this picture) and the wood layers of the rudder are splitting. At this point, most of the paint has been stripped off. |
 |
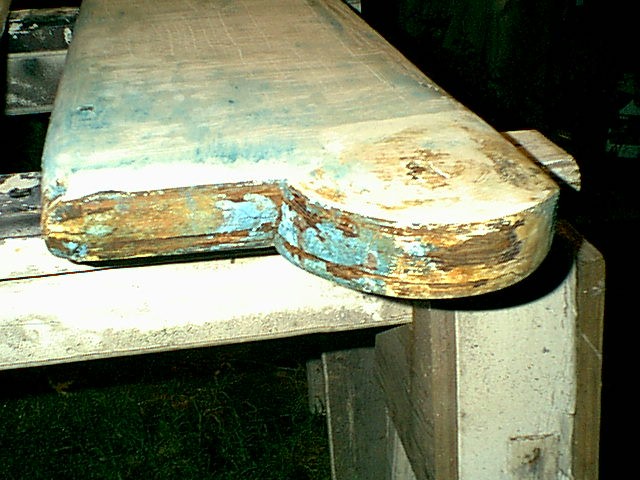
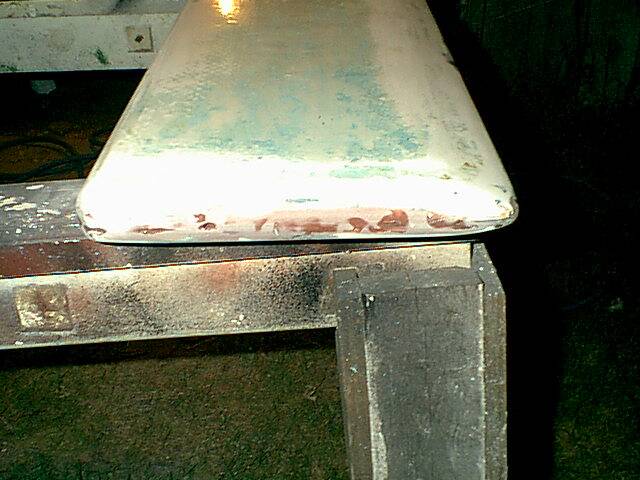
Rudder bottom. There are some good sized gouges and and a hole through the gelcoat which I may be able to fill with epoxy. |
 |
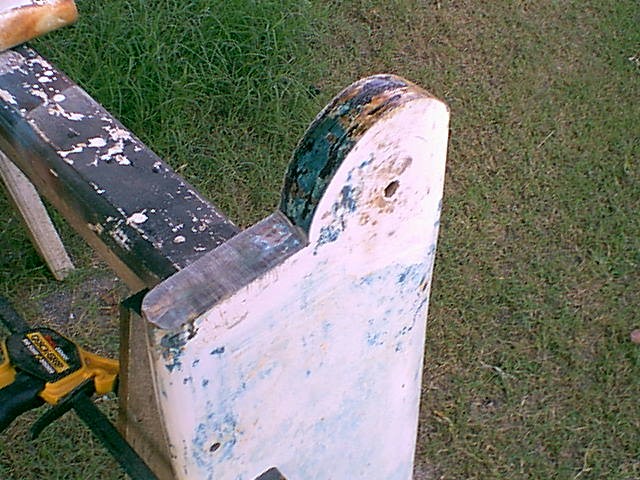
The bottom of the upper section. The corrosion on the hinge plates has caused some damage to the gelcoat and the wood layers will need some attention. There are also a lot of stains from the fittings. |
 |
Top of the lower section - sealing up the top edge. This involved pouring expoxy with no fillers over the end of the rudder so it would seep into the splits and then clamping the rudder to draw the wood together. I put masking tape around the edge to act as a dam to contain the excess epoxy. Once it has all set, the excess epoxy can be trimmed off and gelcoat applied. |
 |
After the initial coat of epoxy had dried the excess ground off and sanded smooth. There still are some holes to fill in order to make the surface even. |
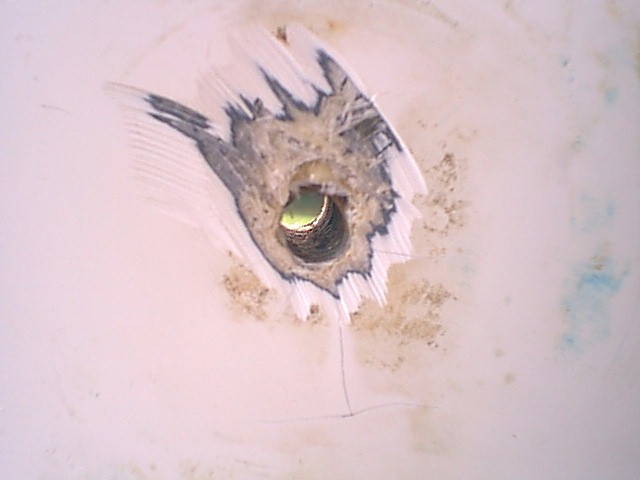 |
The hole for the hinge bolt. The surface was broken up and needed to be repaired so the first step is to grind off the area around the hole. The complete area will get a patch of structural filler which will be sanded smooth before finishing. |
 |
The first layer of filler has been applied and sanded down. The dark spots are low points that will need to be filled again. The hole must lead to a hollow spot in the rudder as it took a good quantity of epoxy and still was not filled. |
 |
The second layer of filler is ready to be sanded down. After it is sanded to shape with 150 grit paper, the entire surface of the rudder will be wet sanded with 400 grit paper. It will then be ready for the first layer of gelcoat. |
 |
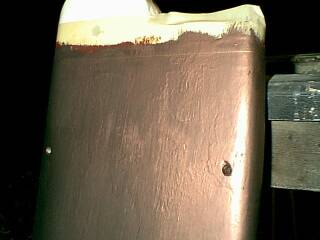
After two layers of gelcoat have been applied to the repaired areas. It next will be wet sanded with 400 and 600 grit paper to smooth out the gelcoat. There still is a little trace of the old blue bottom paint but that will be covered with new bottom paint. |
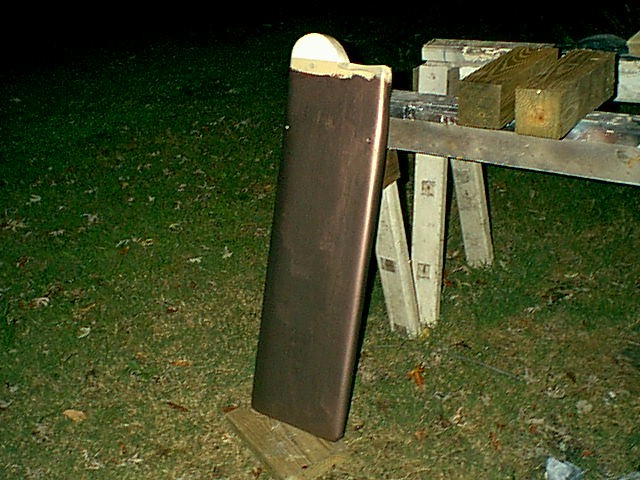 |
Well, it is supposed to be blue. After final sanding of the gelcoat repairs the bottom of the rudder got a coat of Vinelast brown followed by the Interlux blue. This paint covers very well and results in a nice finish - if you want that metallic look! |
Revised 02/07/2005 |
Web development by Adirondack Consulting |